
Ready to withstand high temperatures
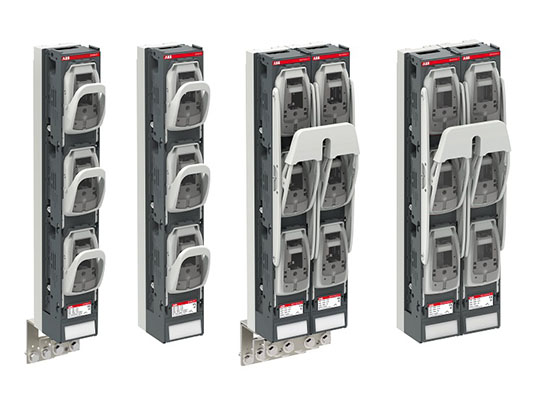
A complete range of low-voltage fuse switch disconnectors created for high-temperature environments and specially engineered to perform without derating in ambient temperatures up to 55°C (131°F). InLine II Cu+ main applications are in cable distribution cabinets, on the low-voltage side of small secondary substations and inside AC combiner boxes in photovoltaic systems. Design and dimensions are identical to the existing InLine II range, preserving its well-appreciated ease of installation, simple operation, robustness and reliable performance in demanding surroundings. InLine II Cu+ replaces 1:1 the previous range of SLBM and BSL switches.
Reliable in extreme conditions
InLine II Cu+ range is tested and approved for performance exceeding the requirements of IEC60947-1 and IEC60947-3 Standards. Switches can be applied with 100% of the rated current Ie.
Easy to install
InLine II Cu+ is available as fuse switch disconnectors for 400A – 630A and switch disconnectors ranging from 800A to 2000A in single-phase and three-phase versions.
Space saving
Existing switchboards equipped with SLBM/BSL switches can be retrofitted side by side with the new InLine II Cu+ range, using an adapter that reduces the busbar distance from 210mm to 185mm.
Safety and protection
A grounding device is available to protect the installations from overvoltages and overcurrents and to increase personal safety for the operators.
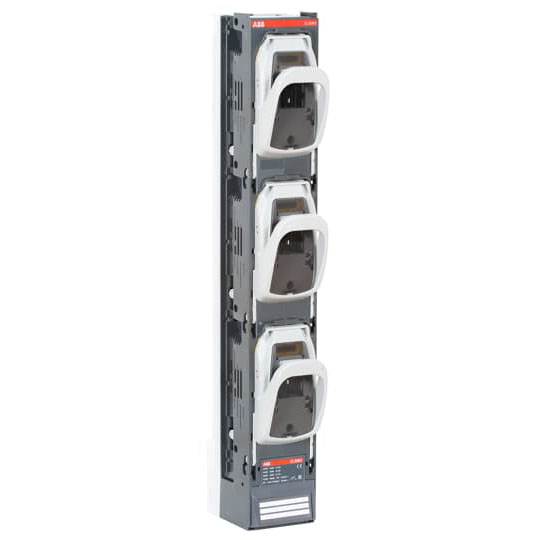
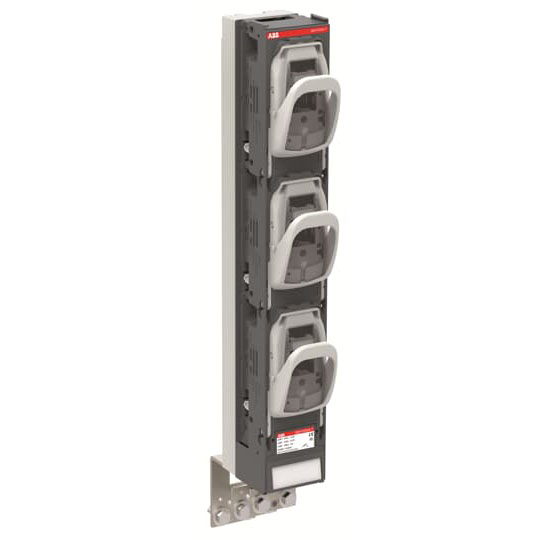
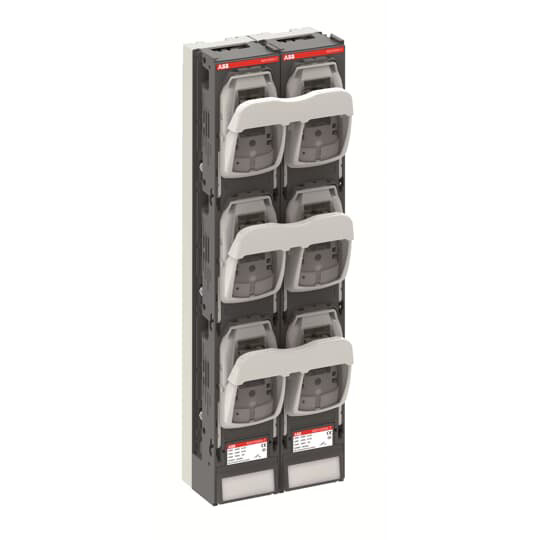
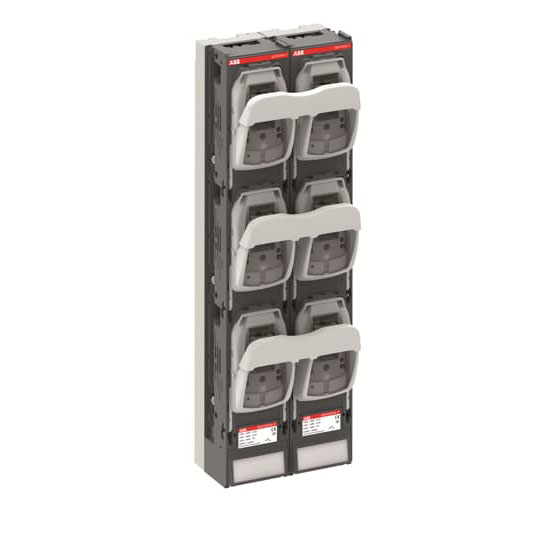
ZHBM2-T-1P-M12
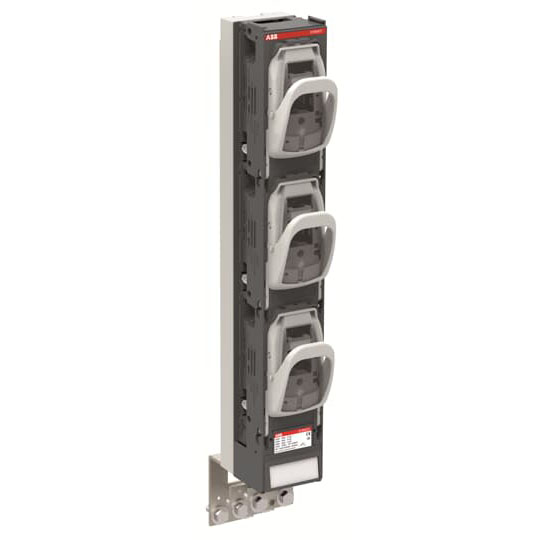
400A Cu+ Fuse Switch Disconnect individual switching
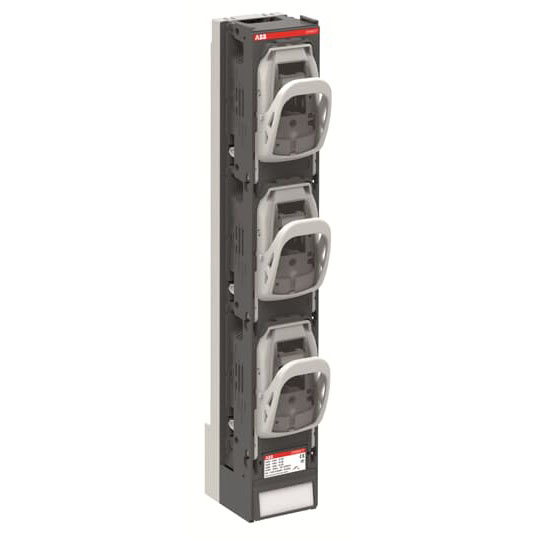
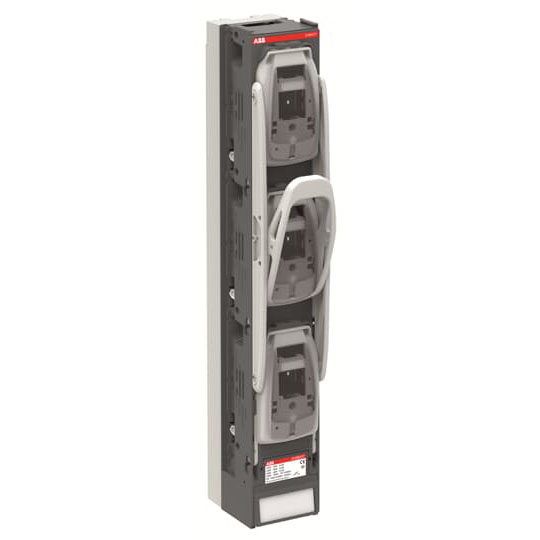
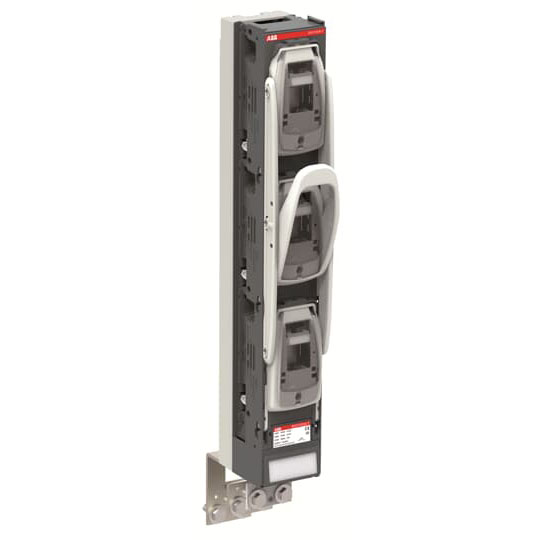
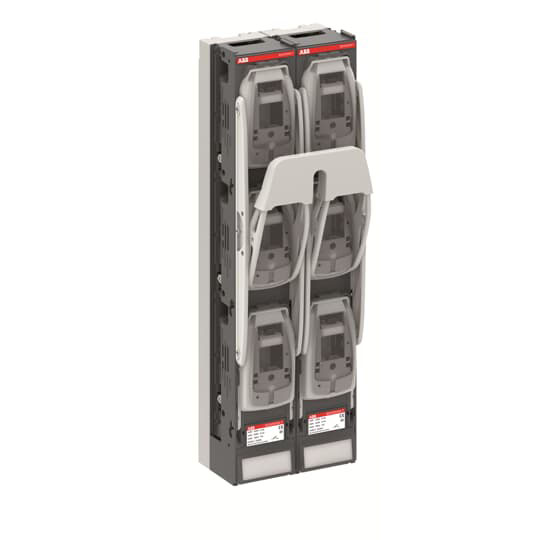
ZHBM2-T-3P-M12
400A Cu+ Fuse Switch Disconnect one action switching
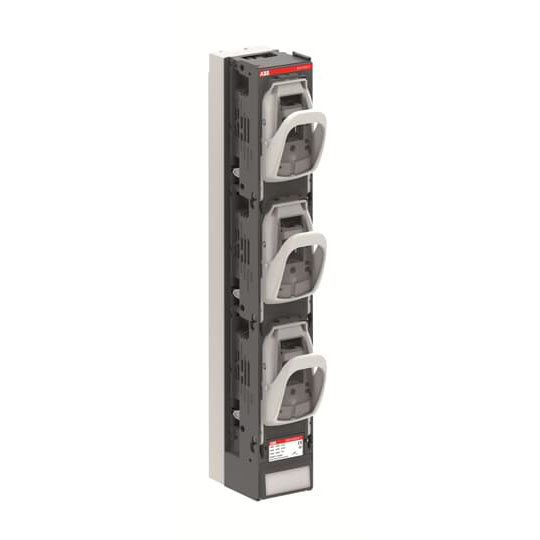
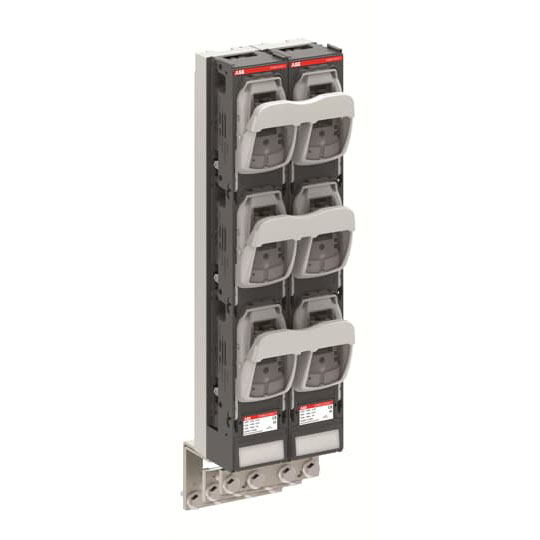
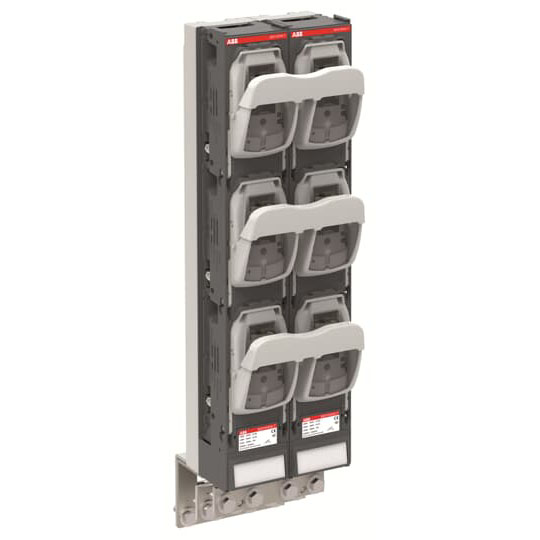
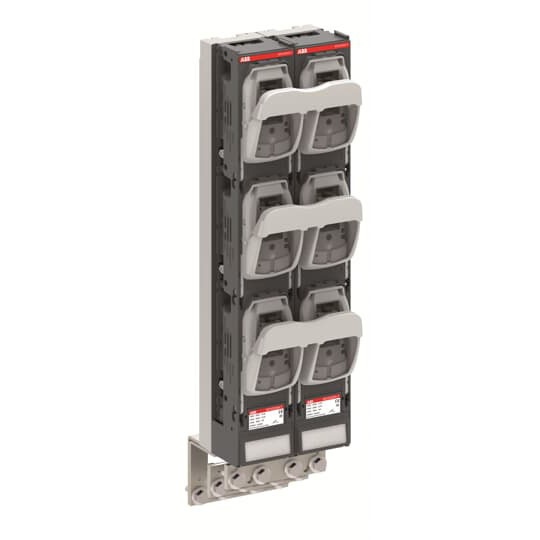
ZHBM3-T-1P-M12
630A Cu+ Fuse Switch Disconnect individual switching
ZHBM3-T-1P-M12–TK
630A Cu+ Fuse Switch Disconnect individual switching, with Terminal Kit
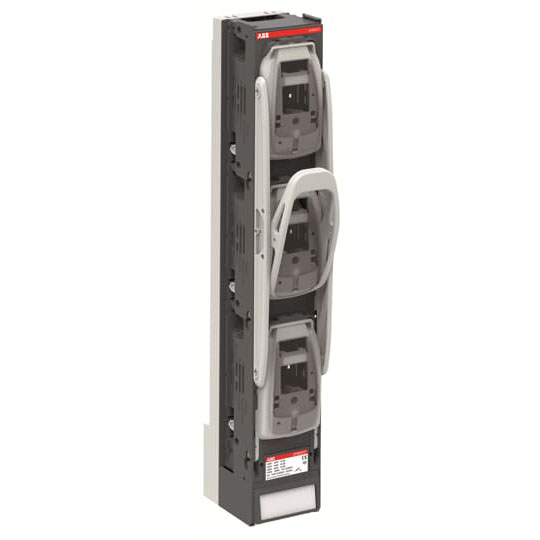
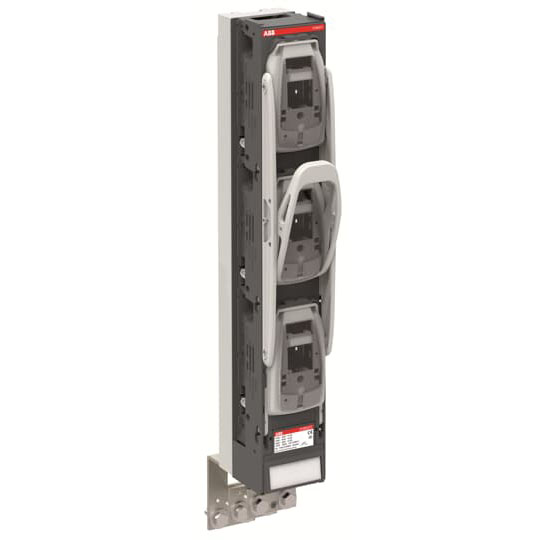
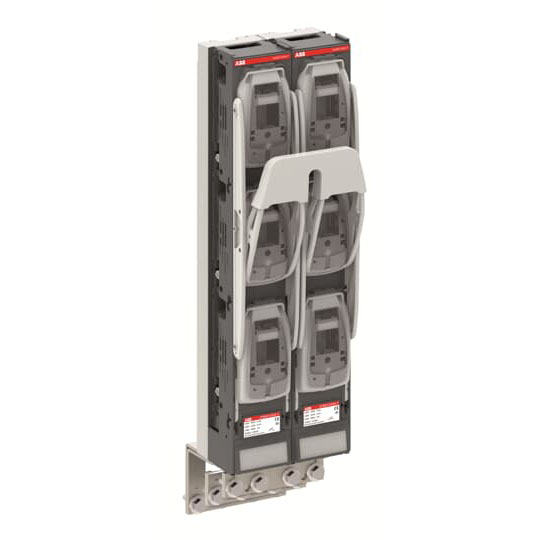
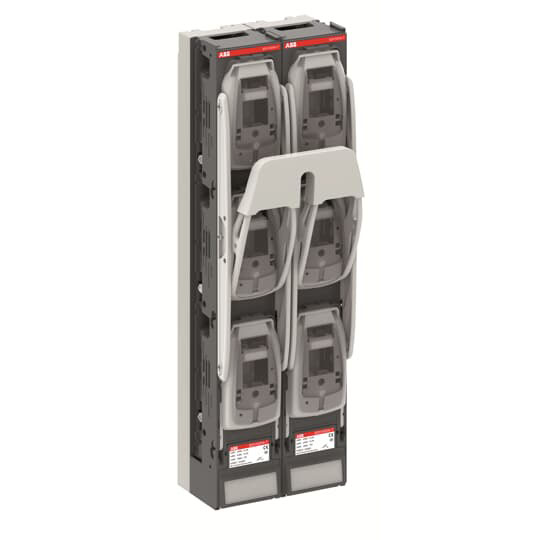
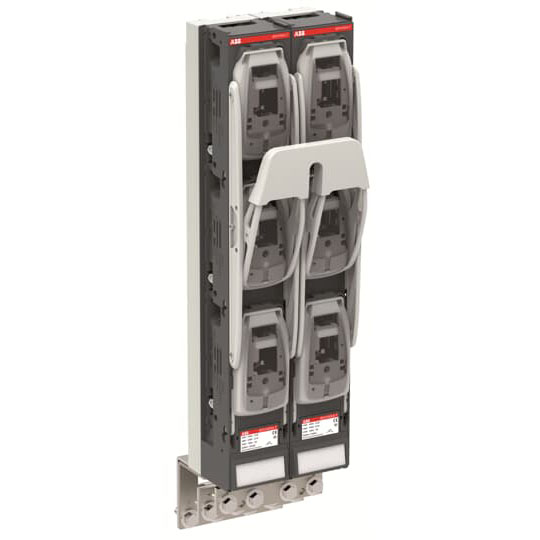
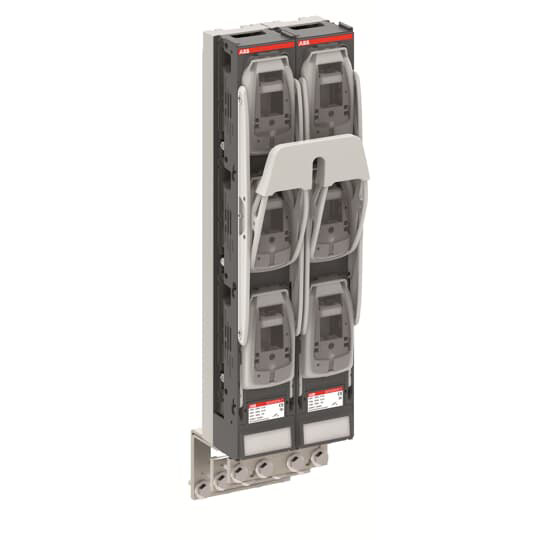
ZHBM3-T-3P-M12
630A Cu+ Fuse Switch Disconnect one action switching
ZHBM3-T-3P-M12–TK
630A Cu+ Fuse Switch Disconnect one action switching with Terminal Kit
BZH1000A-T-1P-M12
1000A Cu+ Switch Disconnect individual switching
BZH1000A-T-1P-M12-TK
1000A Cu+ Switch Disconnect individual switching with Terminal Kit
BZH1000A-T-3P-M12

1000A Cu+ Switch Disconnect one action switching
BZH1000A-T-3P-M12–TK
1000A Cu+ Switch Disconnect one action switching with Terminal Kit
ZHBM1250A-T-1P-M12-TK
1250A Cu+ Switch Disconnect individual switching with Terminal Kit
ZHBM1250A-T-3P-M12-TK
1250A Cu+ Switch Disconnect one action switching with Terminal Kit
BZH1600A-T-1P-M12
1600A Cu+ Switch Disconnect individual switching
BZH1600A-T-1P-M12–TK
1600A Cu+ Switch Disconnect individual switching with Terminal Kit
BZH1600A-T-3P-M12
1600A Cu+ Switch Disconnect one action switching
BZH1600A-T-3P-M12–TK
1600A Cu+ Switch Disconnect one action switching with Terminal Kit
BZH2000A-T-1P-M12
2000A Cu+ Switch Disconnect individual switching
BZH2000A-T-1P-M12–TK
2000A Cu+ Switch Disconnect individual switching with Terminal Kit
BZH2000A-T-3P-M12
2000A Cu+ Switch Disconnect one action switching
BZH2000A-T-3P-M12–TK
2000A Cu+ Switch Disconnect one action switching with Terminal Kit